Good evening my lovelies. I promised you a mini tutorial once I'd tried out my new screen printing kit. My kit was supplied by Thermofax Screens (www.thermofaxscreens.co.uk) who have a great website. They sell all the products you will need, at very reasonable prices. A great little business and the staff I met a the NEC show were lovely. So here goes...
1.First of all prepare your work space. You need a firm but soften surface, so a wipeable table layed with a piece of felt or thick fabric will do. Add to that a piece of scrap fabric to act as a sponge to soak up any excess ink. Although when done correctly, there shouldn't be any.
2.Choose your piece of fabric on which to do your screen print. I've just chosen a plain white poly-cotton but a patterned fabric will work beautifully.
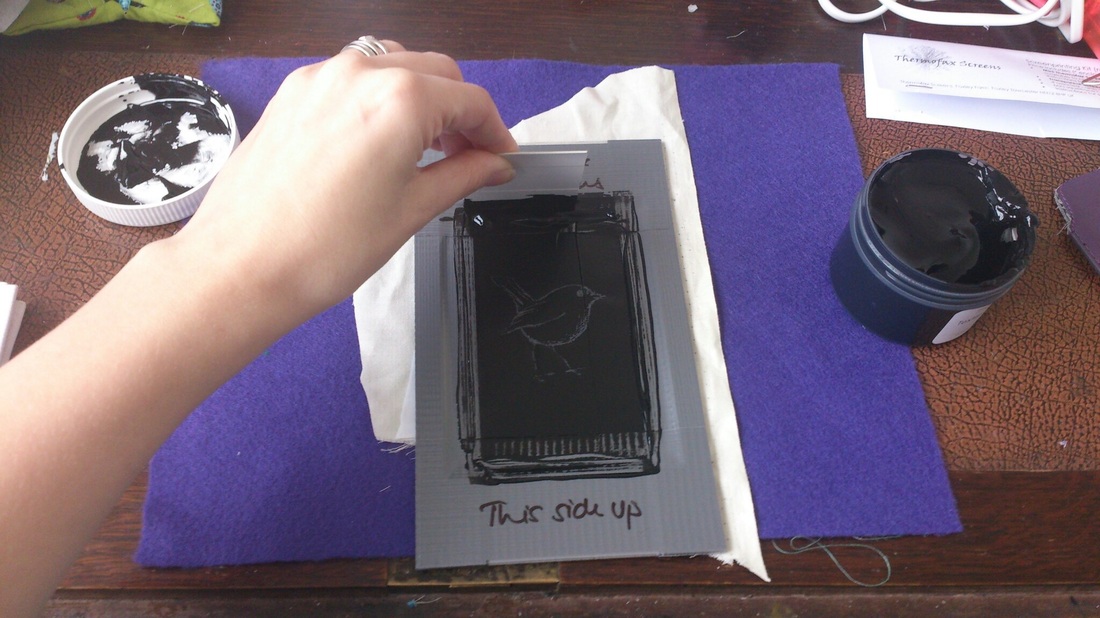
3. Place your screen on top of your fabric. Make sure it is not too close to the edges. You can secure the screen to the fabric will tape if you want to be extra careful. As you can see I skipped this!
4. Spoon a small amount of ink on to the top of the screen, roughly where I'm holding my squeegee. Then in a smooth motion, drag the ink downwards over the image. Try to cover the screen completely to ensure even coverage. If you wish to create a darker image then drag the excess ink upwards back over the image.
4. Spoon a small amount of ink on to the top of the screen, roughly where I'm holding my squeegee. Then in a smooth motion, drag the ink downwards over the image. Try to cover the screen completely to ensure even coverage. If you wish to create a darker image then drag the excess ink upwards back over the image.
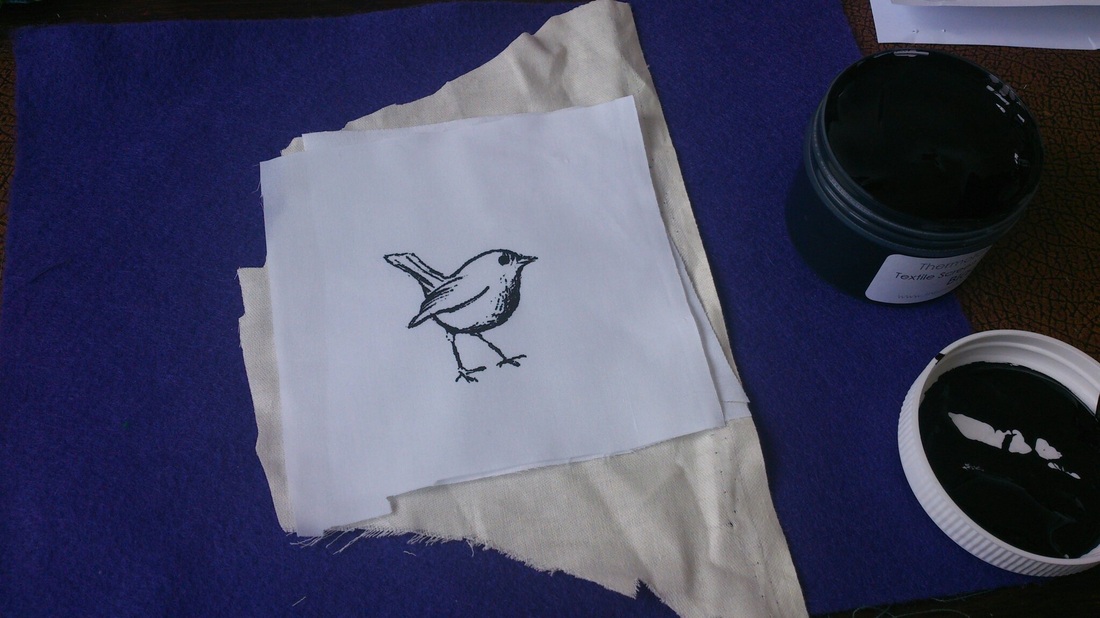
5. Gently lift and remove the screen, your print is complete! if you wish to do more then simply redo the process on fresh fabric. If not, rinse your screen immediately under cool water to prevent the ink drying on your screen.
Watch this space to see what I do with my little birdies!
Bye for now x
Bye for now x
 RSS Feed